


How to Make a Split-Screen OST Video with DreamFace Avatar 3.0
- AI Video
- Photo To Video
- Avatar Video
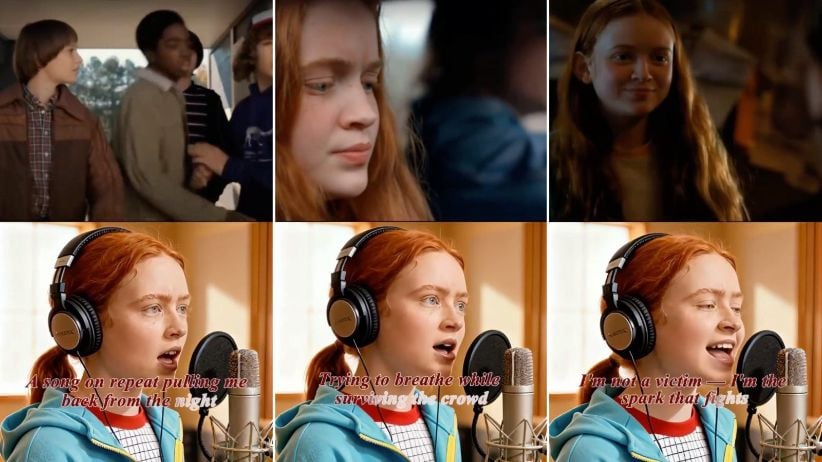
In the age of AI-generated content, creators are finding new and engaging ways to bring beloved movie moments to life. One trending format on platforms like TikTok and Instagram Reels? A split-screen video where the top half plays a cinematic montage, and the bottom shows the film’s protagonist performing the original soundtrack — as if they recorded it live in a studio.
In this tutorial, we’ll walk you through how to create this effect using DreamFace’s Avatar 3.0 tool — from generating the singing avatar to editing the final split-screen cut.
What You’ll Need
Before we dive into the steps, here’s what you’ll need:
- Clips from the original film (for the top half)
- A high-quality image of the character (preferably front-facing)
- The OST audio file you want the character to sing
- Any basic video editing software (CapCut, Premiere, etc.)
Step-by-Step: Create the Singing Avatar
1. Prepare Your Image
Choose a clear image of the character you'd like to animate — ideally a close-up shot with good lighting. You can take a still from the movie itself.
Tip: For best results, use a frame where the character is looking forward and has a neutral or expressive face.
2. Use DreamFace’s Avatar 3.0 Tool
Head to the Dream Avatar tool . Upload your character image, then add the OST audio file (MP3 or WAV). DreamFace will automatically sync the audio to generate a realistic singing animation.
What Avatar 3.0 brings:
- Accurate lip-sync with musical timing
- Expressive facial movements, especially during emotional parts of the song
- Cinematic quality rendering with natural performance dynamics
Want extra realism? Use subtle expressions in the image or request slight head movement using the advanced settings.
Step 3: Assemble the Split-Screen Video
Now that you have both the singing clip and the original film footage:
- Open your video editor
- Place the original movie montage on the top half of the screen
- Add the AI-generated singing avatar video to the bottom half
- Sync the visuals with the OST audio for perfect timing
- Export and share!
You now have a seamless, emotionally engaging split-screen performance — the character feels like they’re truly singing their own soundtrack.
Why This Format Works
This split-screen concept works well because it blends nostalgia with novelty. Viewers get to re-experience iconic scenes while seeing the character come to life in a new way. It’s perfect for:
- Movie fan pages
- OST lovers
- Short-form video creators looking for viral formats
Try It Now
Whether you're recreating your favorite film moment or giving a character their own concert, DreamFace's Avatar 3.0 makes it simple.
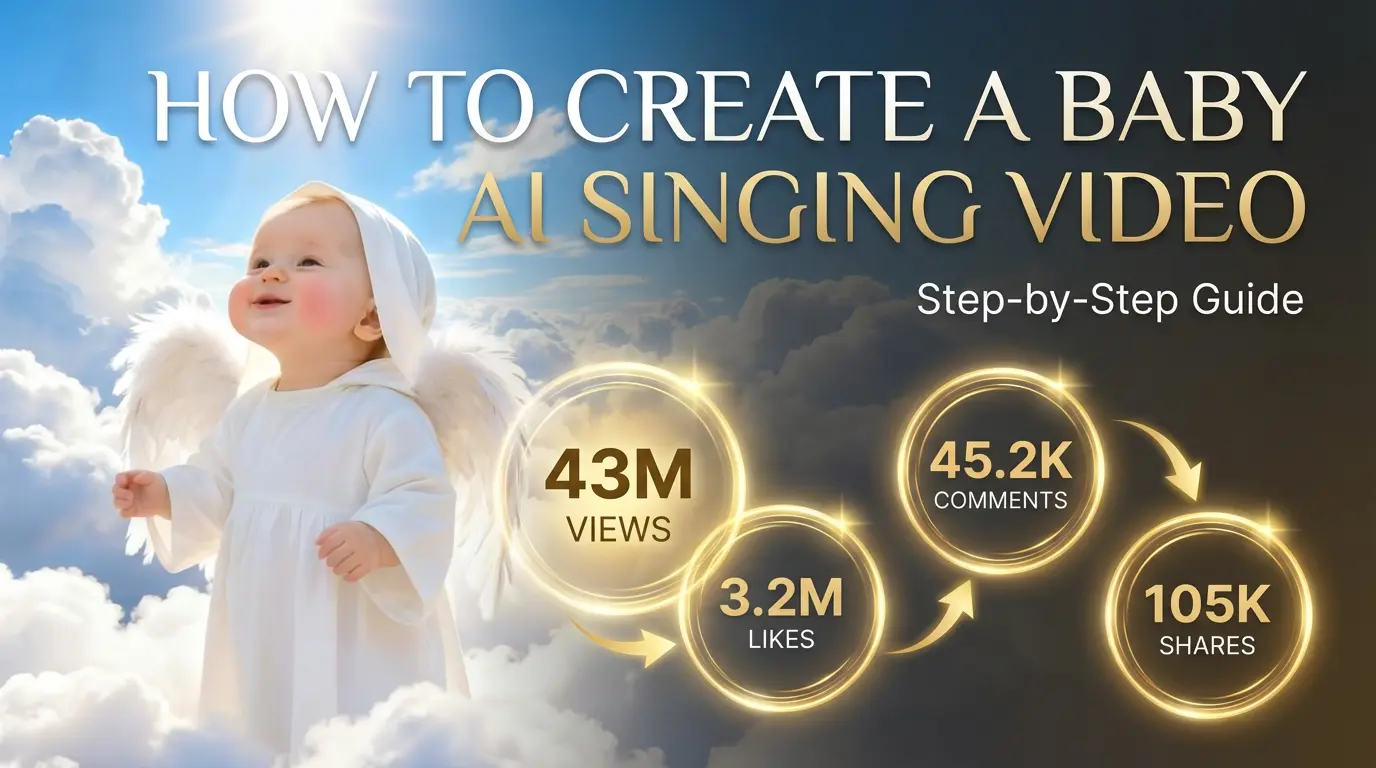
How to Create a Baby Angel AI Singing Video
A baby angel AI singing video is created by animating a photo with AI-powered lip sync and gentle singing audio. To create this type of video, users upload a clear image, add a soft vocal track, and generate facial animation that matches pitch and rhythm. Angel-themed AI singing videos are popular on platforms like Facebook Reels because their calm, emotional visuals encourage replays and sharing.
By Bentley 一 Dec 18, 2025- Photo Animation
- AI Video
- Avatar Video
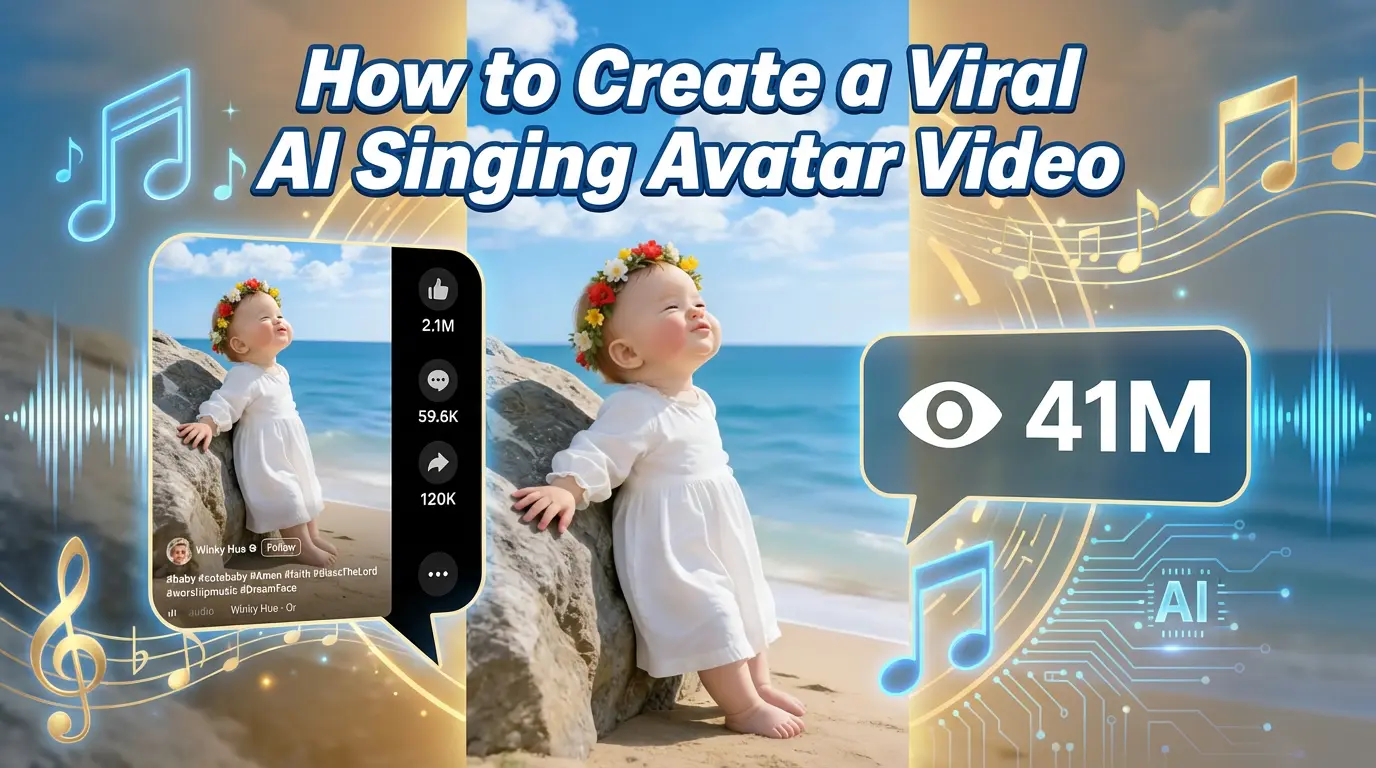
How to Create a Viral AI Singing Avatar Video
An AI singing avatar video is created by animating a photo with AI-powered lip sync and singing voice generation. To create a viral AI singing avatar video, users upload a clear image, add a singing audio source, and generate facial animation that matches pitch and rhythm. This type of content has become especially popular on social platforms like Facebook Reels, where expressive and unexpected visuals drive engagement.
By Bentley 一 Dec 18, 2025- Photo Animation
- AI Video
- Avatar Video
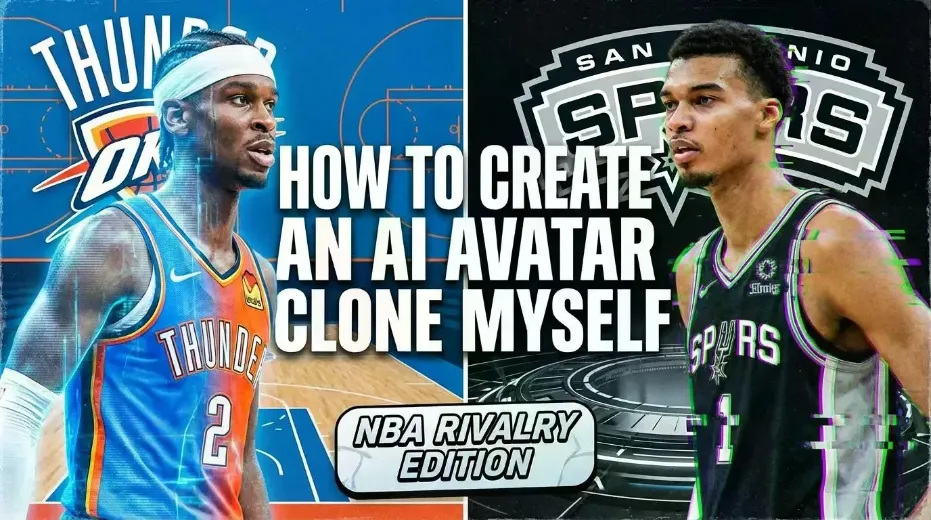
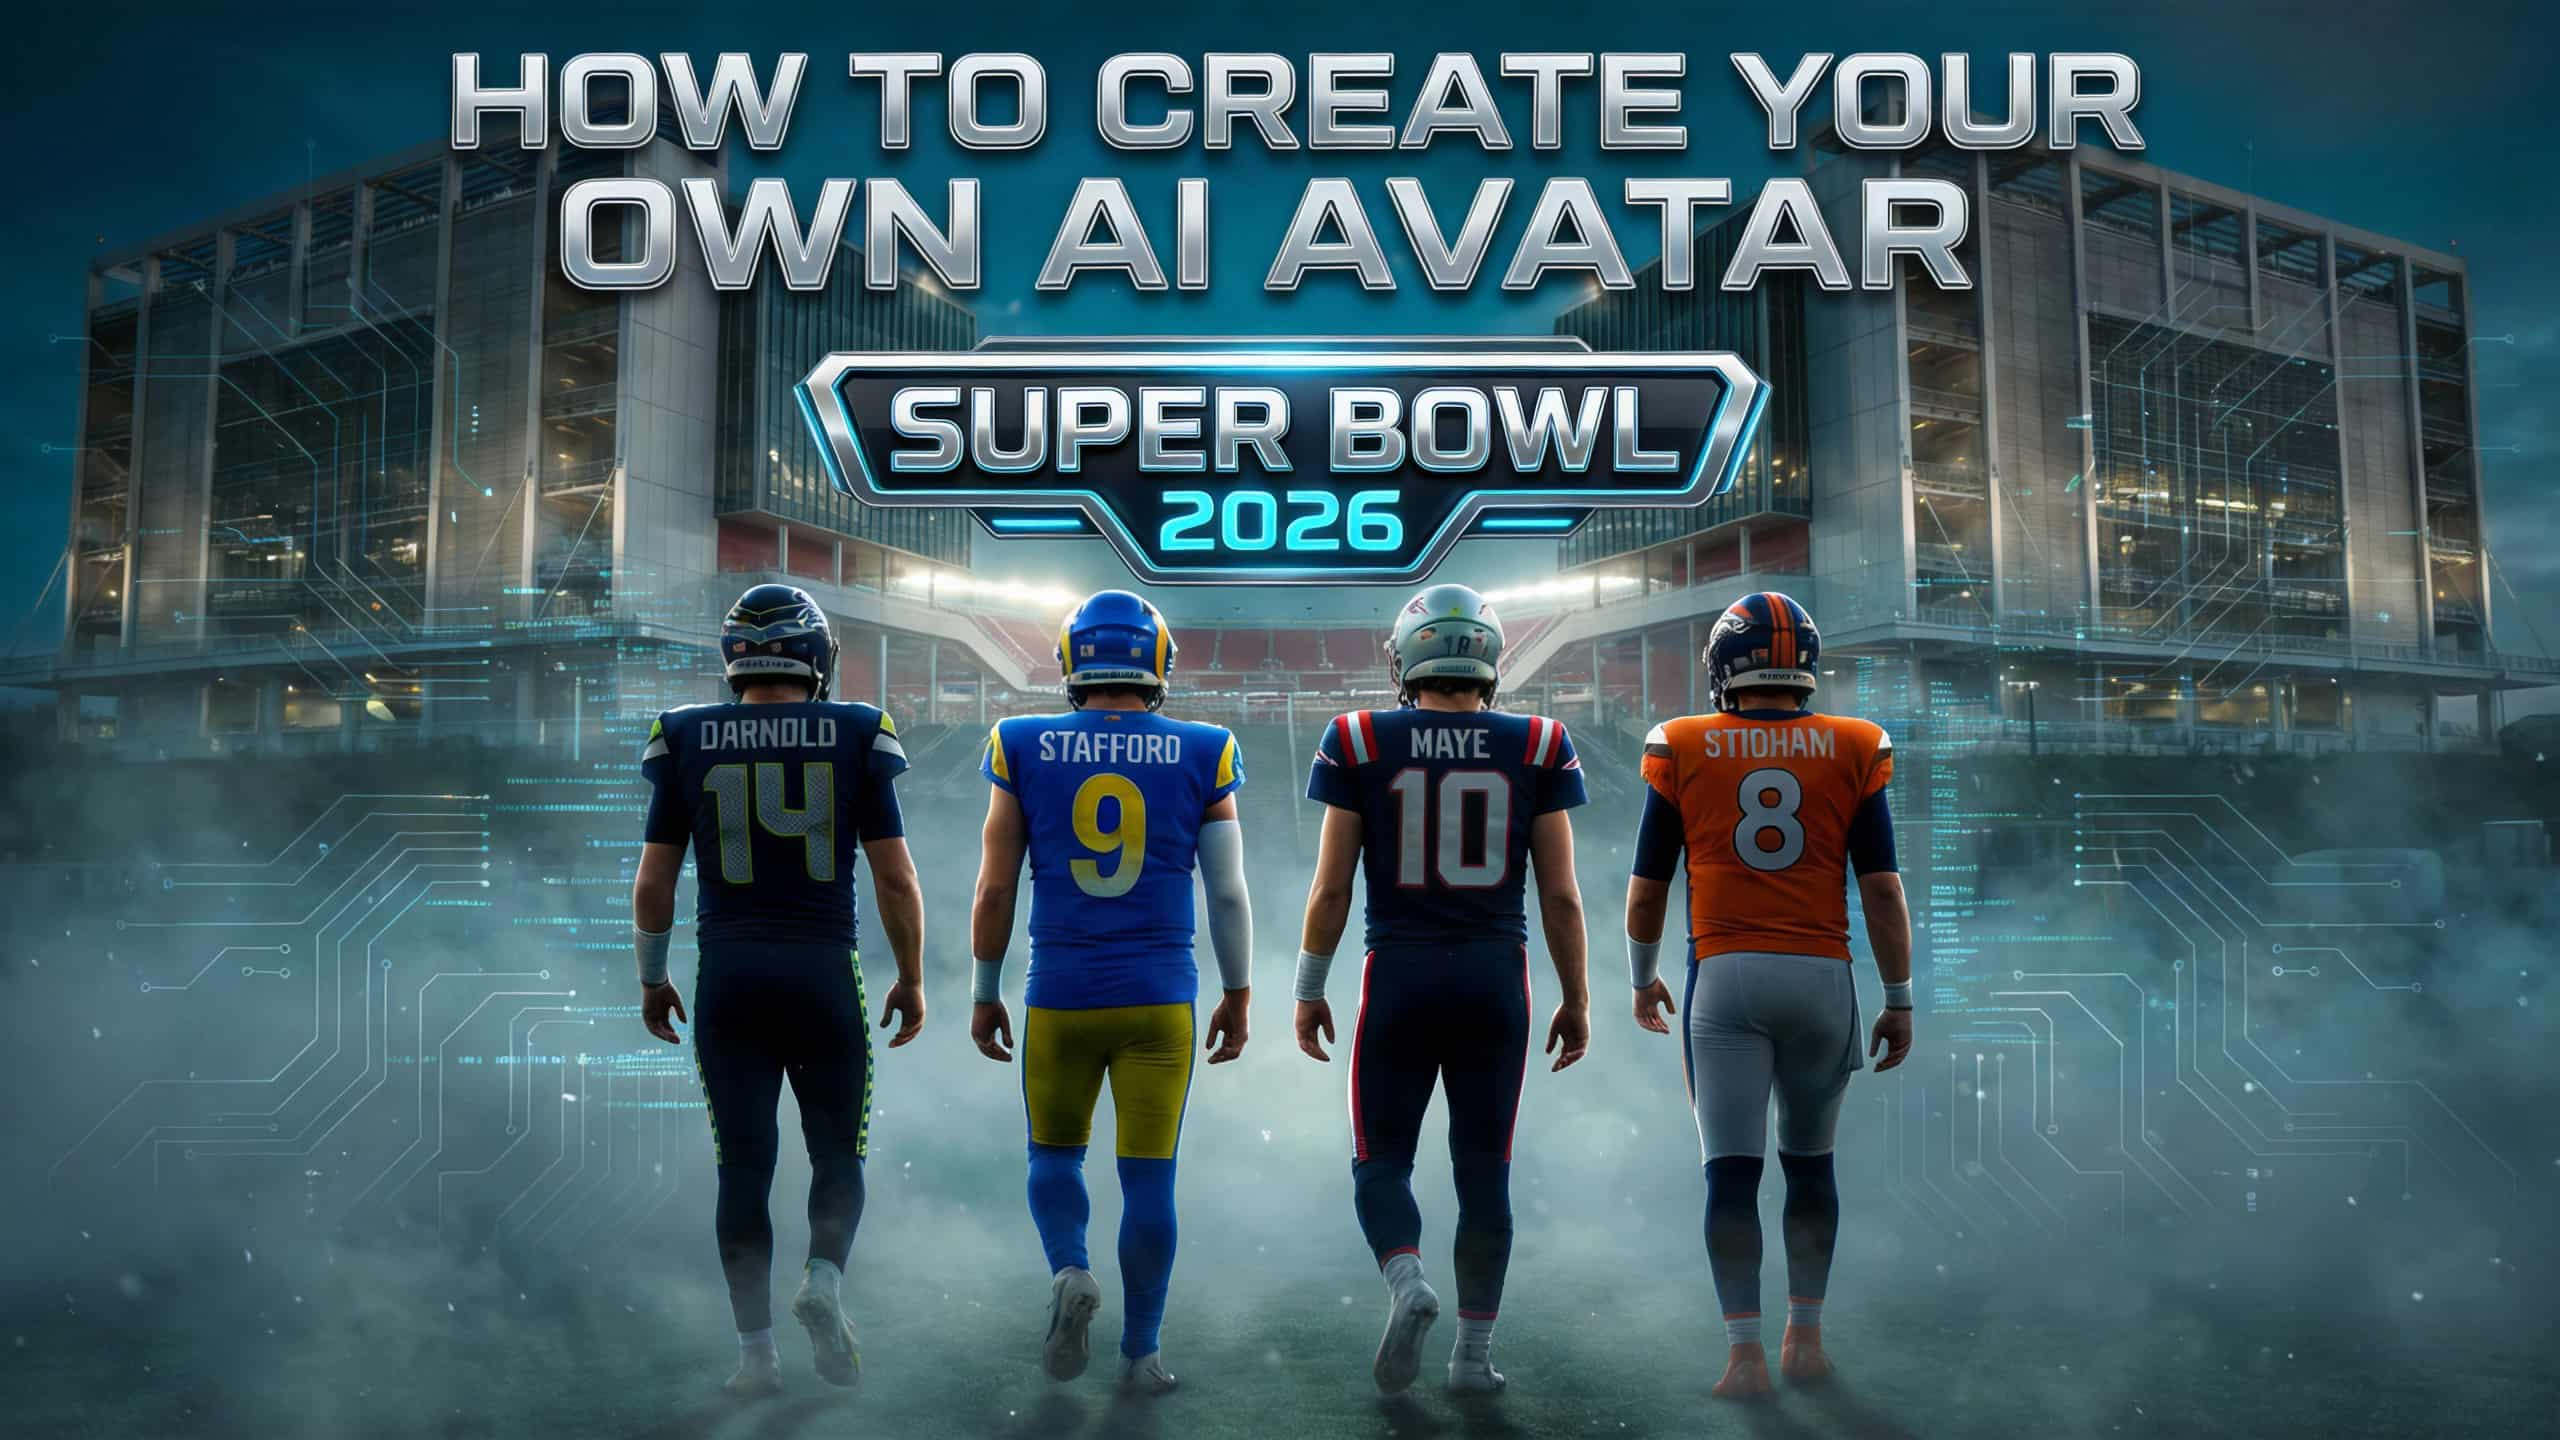
How to Create an AI Avatar and Clone Myself
Creating an AI avatar and cloning yourself means generating a digital version of your face and voice that can speak and appear in videos using AI. To create an AI avatar, users typically upload a clear photo, add text or a short voice sample, and generate a talking avatar with synchronized lip movement and facial expressions. In 2026, AI avatars are widely used for content creation, personal branding, and social media — similar to how games like NBA 2K allow players to scan their faces and create digital identities.
By Bentley 一 Dec 18, 2025- AI Video
- Avatar Video
- NBA
- Image-to-Video
- X
- Youtube
- Discord